Audience
Students learning the skill
This is for users who know what blood pressure is, but are still learning how to take it by hand.
Step-by-step training guide
A clear guide for taking a manual blood pressure reading, from setting up the patient to writing down the final number.

This guide is for students practicing in a skills lab. In a real clinic, follow your instructor, workplace rules, and patient safety steps.
Audience
This is for users who know what blood pressure is, but are still learning how to take it by hand.
Purpose
The guide shows what to do first, what to do next, and how to finish with a clear reading.
Success
At the end, the user should be able to write a reading like 118/76 mmHg and explain how it was taken.
Scope
This guide covers one manual blood pressure reading on a seated adult patient using a cuff, bulb, gauge, and stethoscope.
Contents
Choose a route
Gather supplies, seat the patient, rest quietly, and position the arm.
Apply the cuff, locate the brachial artery, inflate, deflate, and listen.
Write the reading, note important details, and repeat if the reading seems wrong.
Introduction
Manual blood pressure is measured with a cuff, gauge, bulb, and stethoscope. First, you prepare the patient. Next, you listen for the sounds. Last, you write down the reading. A finished reading should look like 118/76 mmHg.
Equipment Needed

Cuff Sizes
Cuff size affects accuracy. A cuff that is too small can make the reading look too high. A cuff that is too large can make the reading look too low. Measure around the middle of the bare upper arm before choosing a cuff.
Before You Begin
Ask the patient to sit quietly for at least five minutes before the reading. Keep this time quiet.
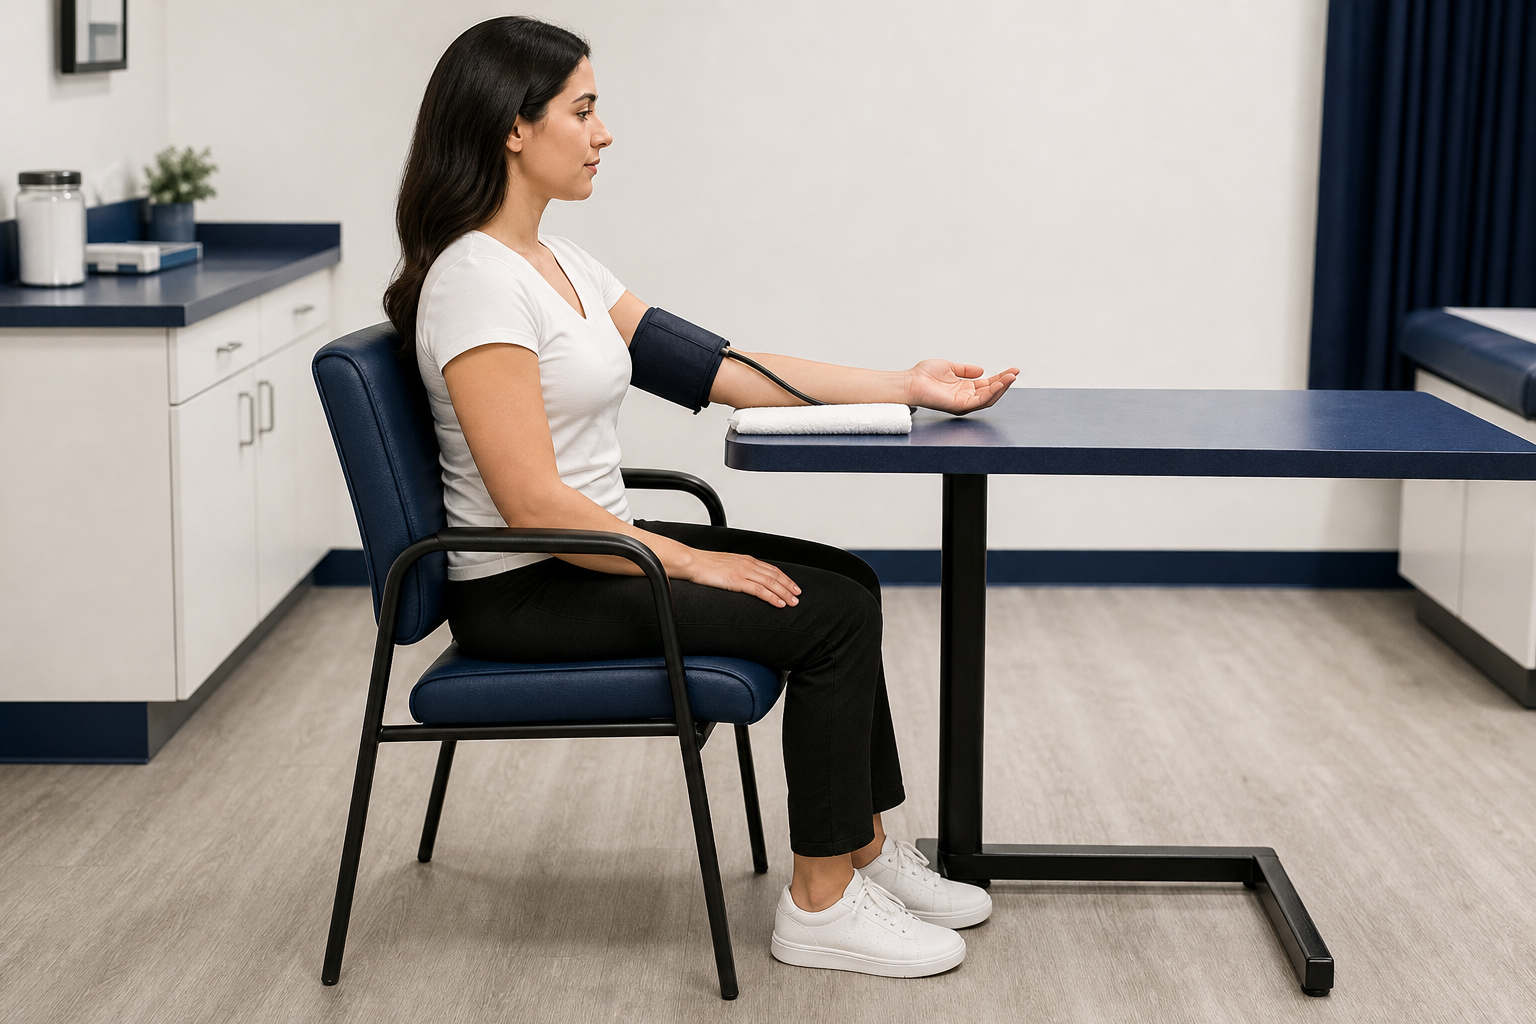
Have the patient sit with their back supported and both feet on the floor. Ask them to uncover the upper arm. Support the arm at heart level.

Feel inside the bend of the elbow for the brachial pulse. Place the stethoscope lightly over that spot.


Open the valve slowly. Let the pressure drop about 2-3 mmHg per second while you watch the gauge and listen.

Write the reading clearly so someone else can understand it.
Common Mistakes
Decision point
Take the reading again if the patient talks or moves, the cuff slips, you miss the sounds, or the number does not seem right.
What the Numbers Mean
Blood pressure is written as two numbers. The top number is systolic, which is the pressure when the heart beats. The bottom number is diastolic, which is the pressure when the heart rests between beats.
Troubleshooting
Move the stethoscope back over the brachial artery. Make sure the earpieces face forward.
Check for talking, crossed legs, an unsupported arm, recent activity, or a cuff that is too small.
Check cuff size, arm height, valve speed, and whether you inflated the cuff enough.
Quick Reference
Practice Checklist
0 of 10 checklist items complete
Technique details are based on common manual blood pressure steps: rest the patient, use a bare arm, choose the right cuff size, support the arm at heart level, keep the patient quiet, and deflate slowly.
National Heart, Lung, and Blood Institute American Heart Association AHA Scientific Statement on BP Measurement CDC Measuring Your Blood Pressure